Written by Damian Hancock, co-founder of A’qto Cycling. Since 2015, Damian has led small-group cycling tours across Italy. With extensive personal experience travelling internationally with a bike (and from speaking with guests), he shares the key things you need to consider when travelling overseas for a cycling holiday.
If it’s your first time flying overseas with a bike, you might have a lot of questions. Taking a bike on a plane is one of those things that feels a bit complicated if you’ve never done it before. There are a handful of details that are easy to overlook until you’re standing at a check-in counter with an oversized bag and an early morning flight.
Having run cycling tours in Italy for over 10 years, and having travelled with my own bike more times than I can count, I’ve learned most of these lessons firsthand, or from experiences our guests have had.
In this post, I share the key things to think about when travelling internationally with a bike and what to consider before you book.

#1 Pick the right bike case
If you’ve decided to bring your own bike, the first practical decision is how to transport it.
We’ve covered this in detail in our bike travel case recommendations post, but the short version is: use a hard case.
The protection of your bike is the priority. A hard case takes the damage, so your bike doesn’t have to (which is worth the extra investment in my opinion).

#2 Book your flights carefully
Flying from Australia to Italy means at least one long-haul leg, usually with a connection. So there are a few things worth considering when booking your flights:
- Book your bike with the airline in advance. Bicycles are som times treated as oversized luggage and are subject to space availability on the airline. So you will need to check the individual airline and possibly book separate luggage allowance and make sure this is done well in advance.
- Look at the total cost, not just the airfare. Bike fees can vary enormously between carriers, and some long-haul carriers are more bike-friendly than others, where they treat your bikes just as an additional piece of luggage. Factor all of this into your decision – don’t just look at the headline ticket price.
- Check the bike policy for every leg of the journey, not just the main flight: Different airlines have different policies on bikes, so if you’ve got a connecting flight with a different carrier, make sure you check their policy too.

#3 Pack your bike well
Packing your bike well is just as important as having the right case. The single most useful packing tip I can offer is this: assume your case will be turned upside down at some point during transit, and pack accordingly.
Here’s how I would personally approach packing my bike if it had disc brakes.:
- Remove the disc brake rotors. If you have a bike with disc brakes, remove the rotors before you pack. Rotors are vulnerable to bending during transit, and even a small bend can be enough to cause rubbing or a persistent squeak that ruins the rhythm of a ride. Once they’re off, wrap them carefully and store them separately inside the case.
- Unscrew the rear derailleur (and bring a spare). Unscrew it from the hanger and secure it to the frame. This removes the risk of the hanger being bent by any impact or pressure during transit. A bent derailleur hanger is one of the harder problems to solve quickly on the road, particularly because there’s no standard size between bike brands. I always advise guests to travel with a spare hanger that fits their specific bike. It weighs almost nothing, takes up no space, and can save your tour.
- Insert brake pad spacers. With hydraulic disc brakes, if the brake lever is accidentally compressed during transit, the calipers will close and can get stuck in the braking position. A brake pad spacer (the plastic one that comes with most bikes, or a folded piece of cardboard) inserted between the pads solves this.
- Remove the pedals. These are the first things to snag or cause damage. Pack them separately inside the case.
- Remove the handlebars. Most hard cases require the bars to be removed for the bike to fit properly.
- Deflate your tyres. Air pressure in the hold of a plane can cause fully inflated tyres to burst. Deflate totally before you fly.

#4 Allow extra time at check-In
Before you leave home, weigh your packed case and check your airline’s weight limits. Most carriers set a limit between 23kg and 32 kg for oversized items. Exceeding this can be a hefty fee.
So knowing your packed weight in advance gives you time to adjust before you get to the airport.
It’s also worth building in more time than you think you need on the day. Oversized baggage often goes through a different process to standard luggage. So give yourself enough time to get your bike checked in, without the stress of rushing.

#5 Don’t forget insurance
Standard travel insurance often doesn’t cover high-value items, such as your bike. So make sure you read the policy of the insurance before you book.
There are some dedicated bike-specific insurance policies, so you may want to check these out too.
We’d recommend reviewing the maximum item value, whether transit damage is included and what the claims process looks like if something goes wrong. Some insurers also mandate hard-shell bike cases, so make sure you check this too.
Before you leave, take photos of your bike – both inside the case and assembled – and make sure all your insurance documents are saved digitally or printed. This way, if you do need to make a claim, you’ve got everything you need.

When you might consider hiring a bike instead
After reading all of this, you may be wondering whether it’s worth the logistics of bringing your own bike or if you should just hire one when you get there.
It’s a fair question, but my honest answer is: it depends.
Bring your own bike or hiring a bike is a personal decision, and it largely comes down to how much other travel you’ll be doing on either side of the tour, and whether you’ll be using your bike during that time.
If you’re spending two weeks in Italy and the whole trip revolves around the riding, bringing your own bike often makes sense. If you’re tacking a week of cycling onto a bigger European trip, hiring may be the more practical option.
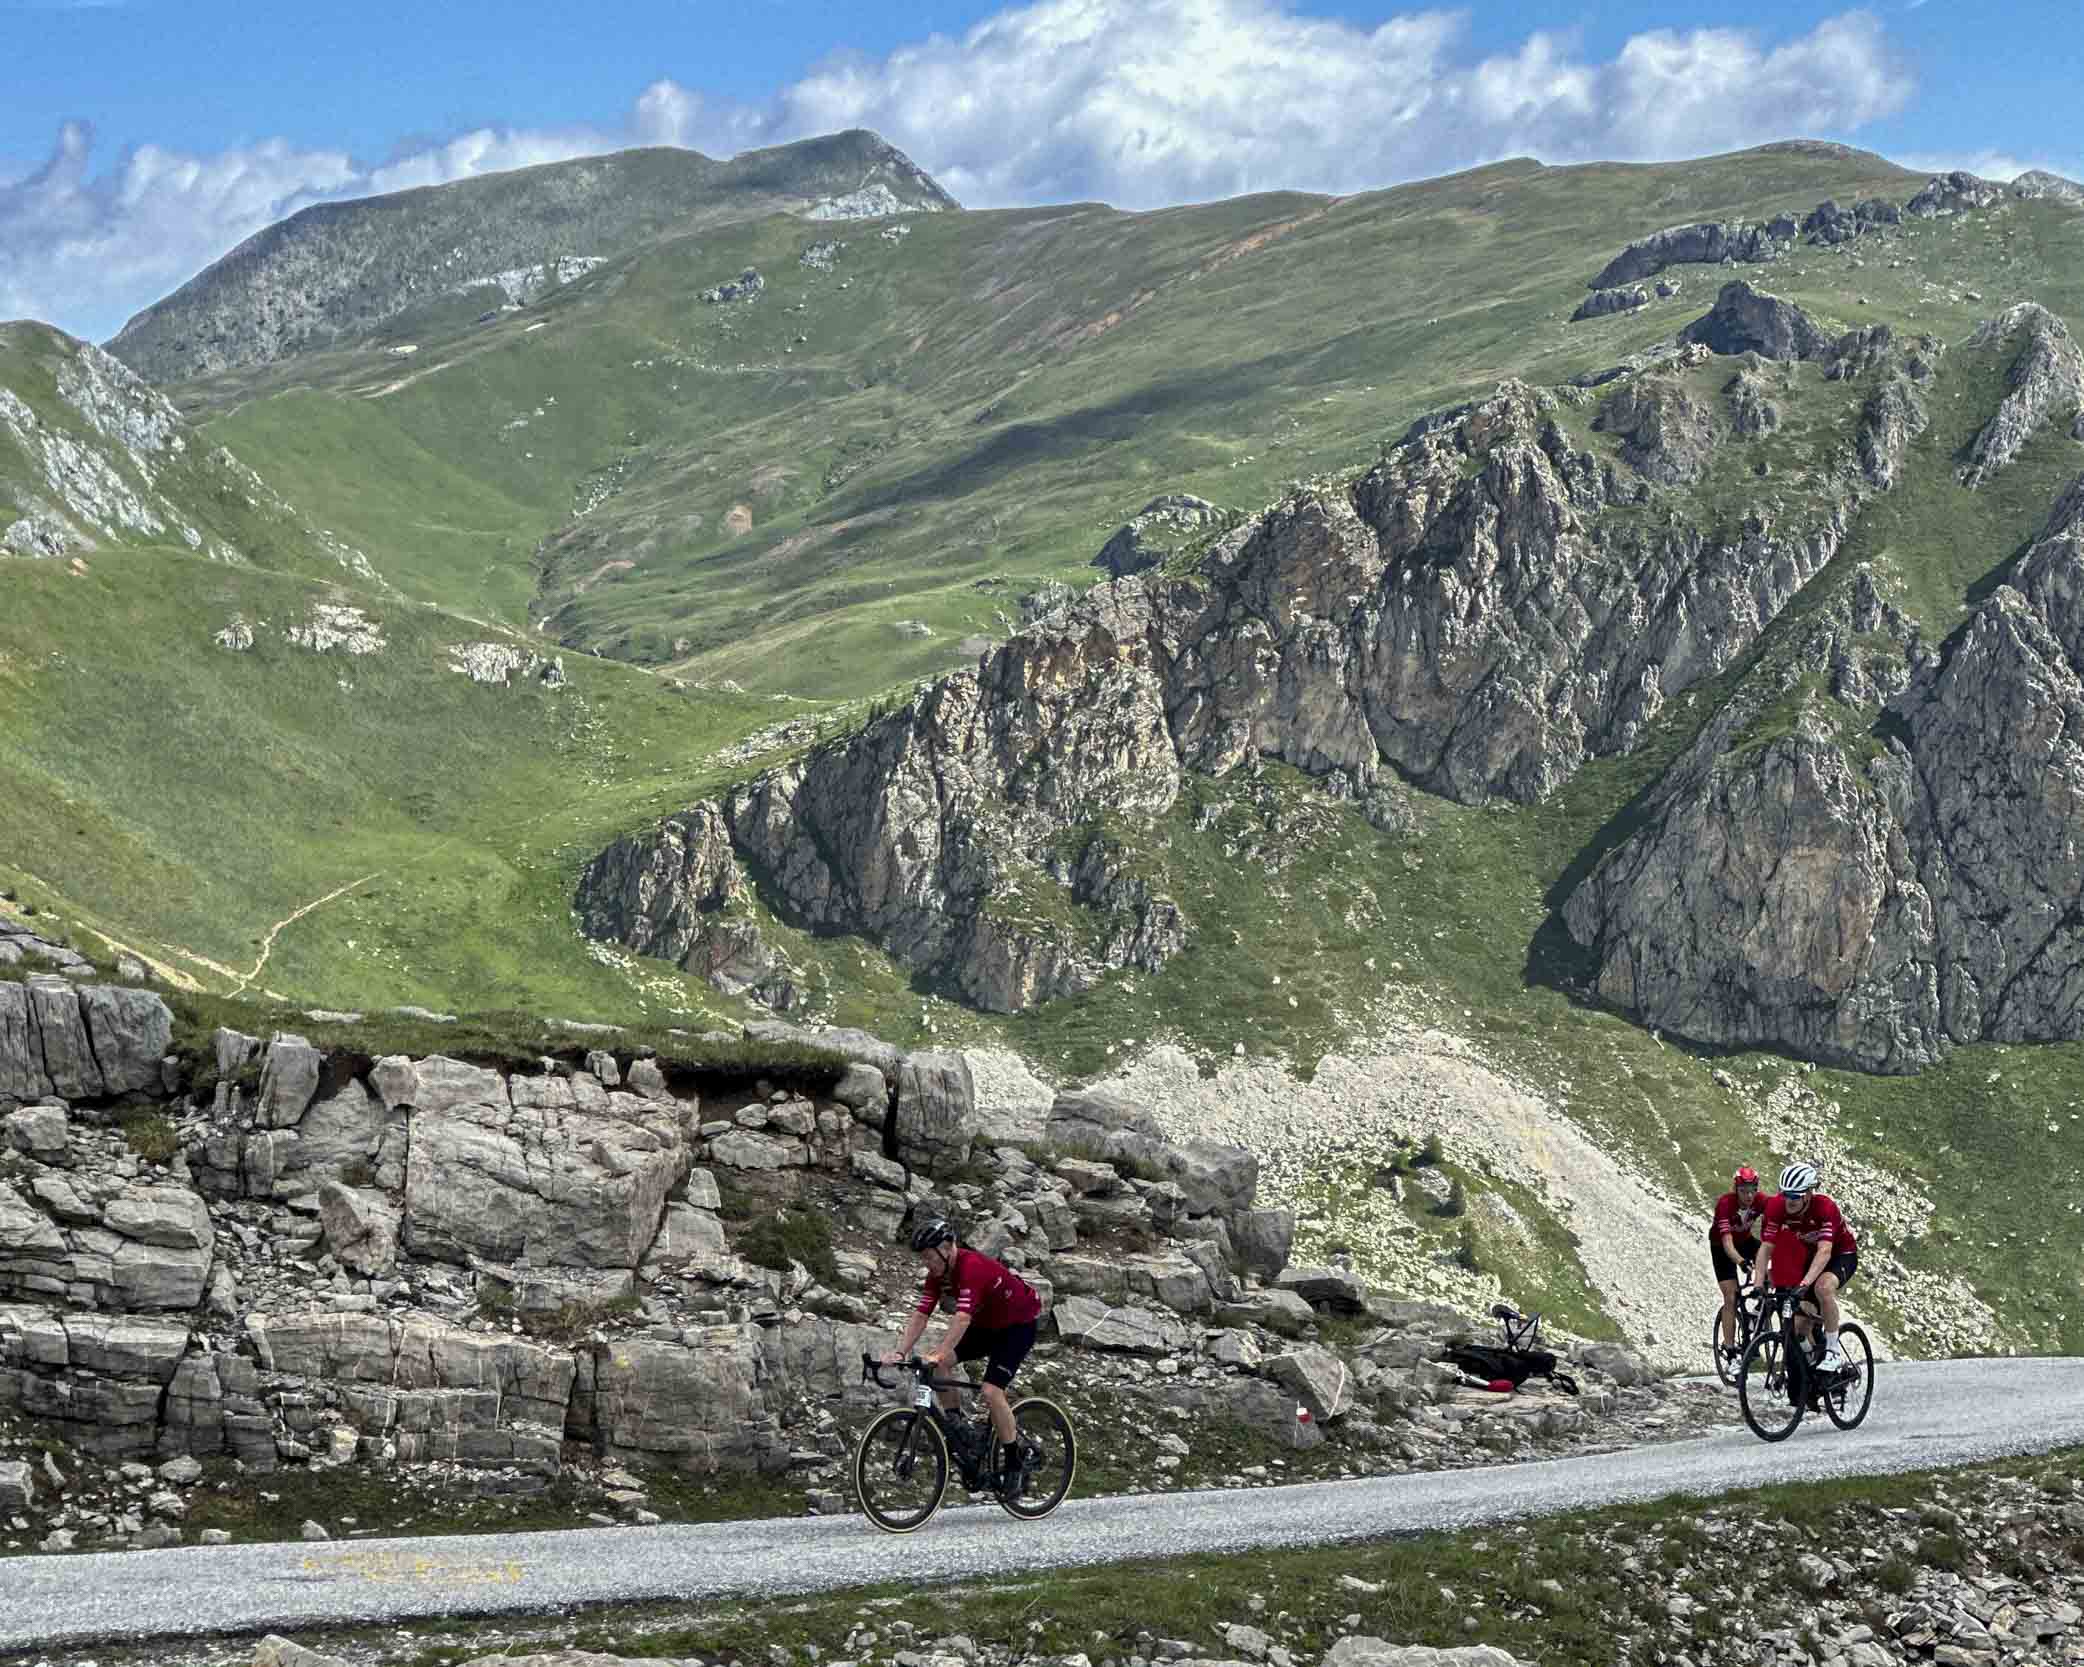
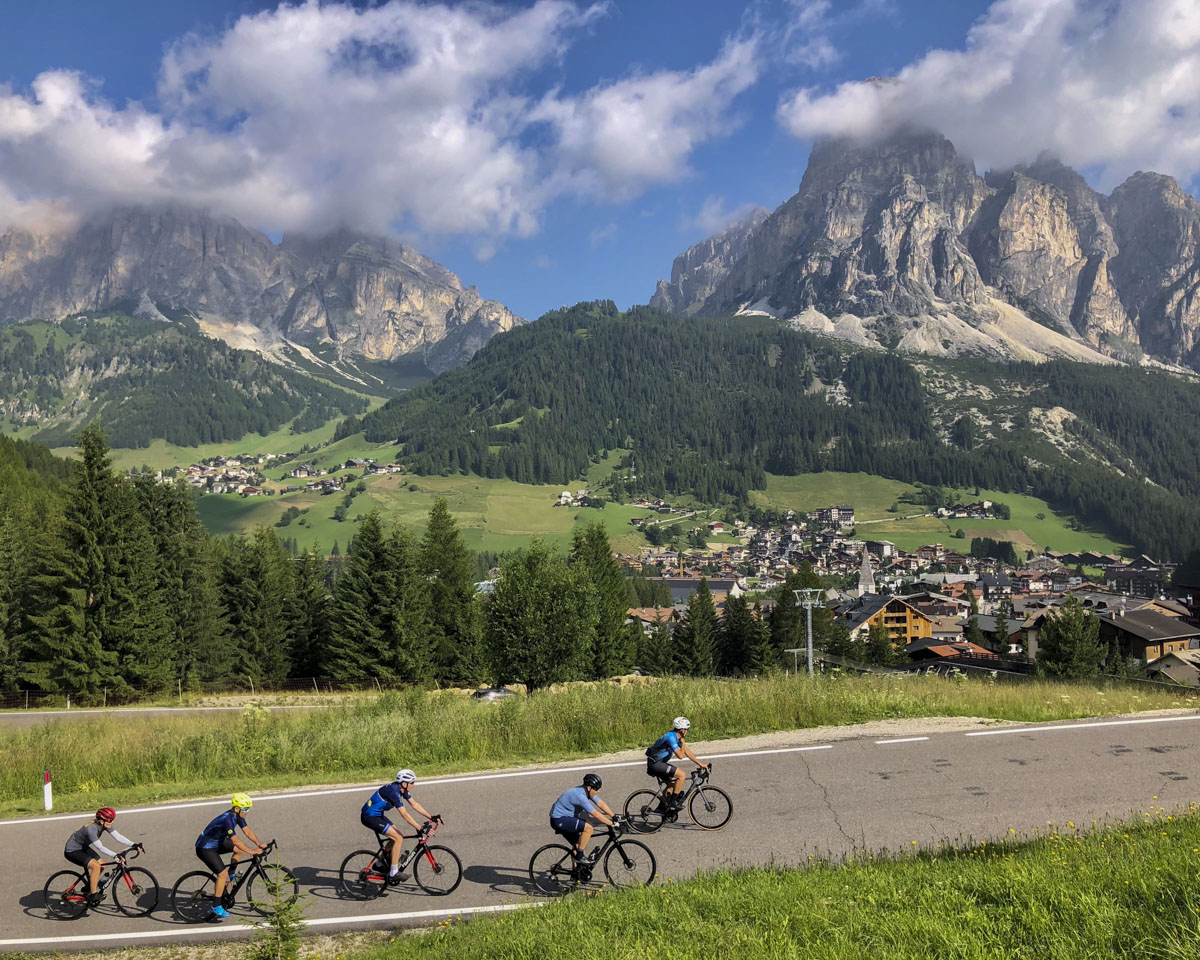
There’s one situation where I would say it might be better to have your own bike – that’s any tour with significant climbing.
On a climbing-heavy tour (like our Stelvio and Dolomites tour), your bike fit becomes really important. You’re spending long hours in the saddle, you’re pushing hard on climbs, and small discomforts can become very real over consecutive days. If you can’t get to the same position you’re used to at home, it can niggle at you throughout the week. So bringing your own bike is one less thing you have to manage or adjust to.
If you want another option to bringing your own bike, hiring a quality carbon bike through us is a great option. We set the bike up to your measurements before the tour begins, all you need to bring are your helmet, pedals and saddle.
If you have any questions about travelling with your bike on one of our tours, or you’d like to talk through the hire option, feel free to send us a message on WhatsApp. We’re always happy to help.
You can also browse our full range of Italian cycling tours here and find the one that’s right for you.